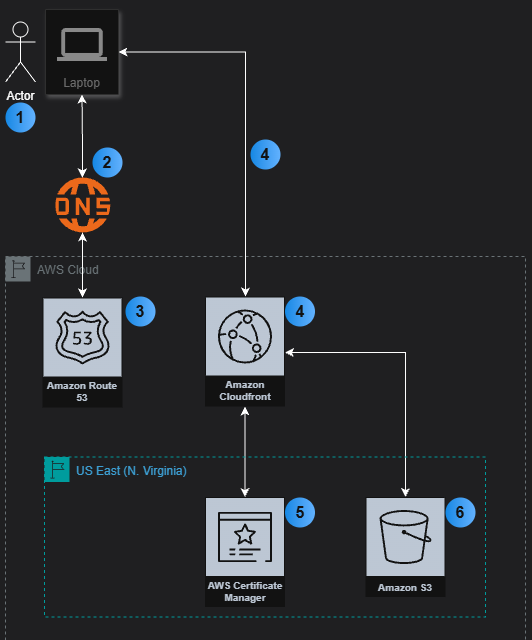
1 - Actor uses laptop, opens browser, and types in a URL.
2 - Browser queries DNS service to locate website.
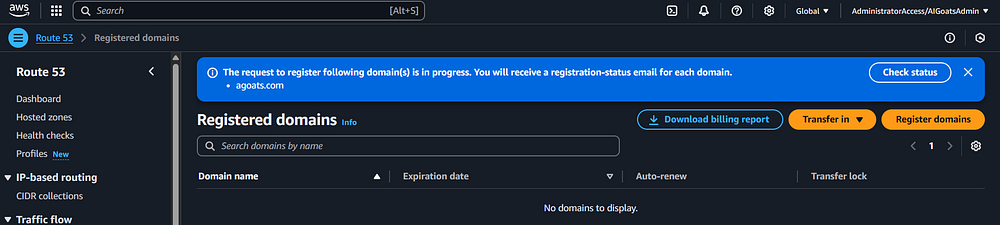
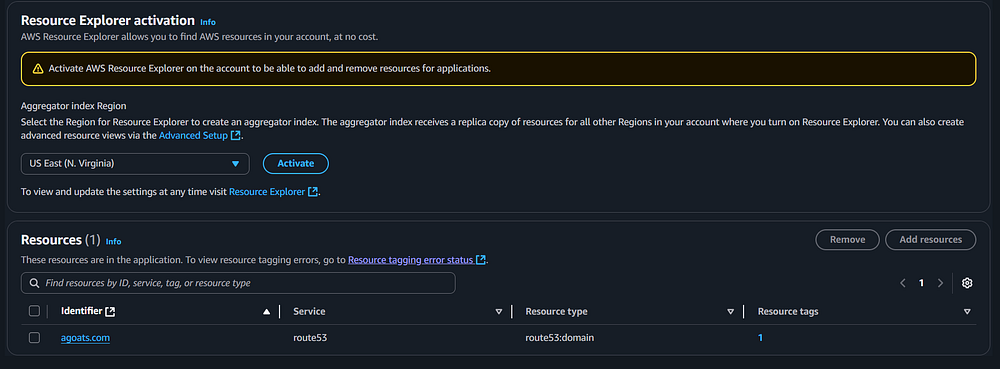
3 - DNS service tries to locate website. Route 53 returns the DNS record to the DNS server so it can direct the browser request to CloudFront.
4 - Browser request is answered by the optimal CloudFront edge location. CloudFront can be configured to determine what the optimal edge location is for the requestor based on multiple factors. CloudFront provides the cached HTML files, images, certificate, etc. to the browser and the browser renders the webpage.
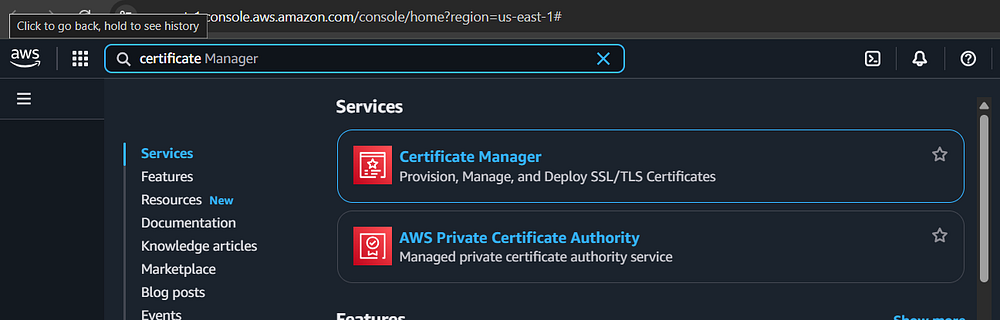
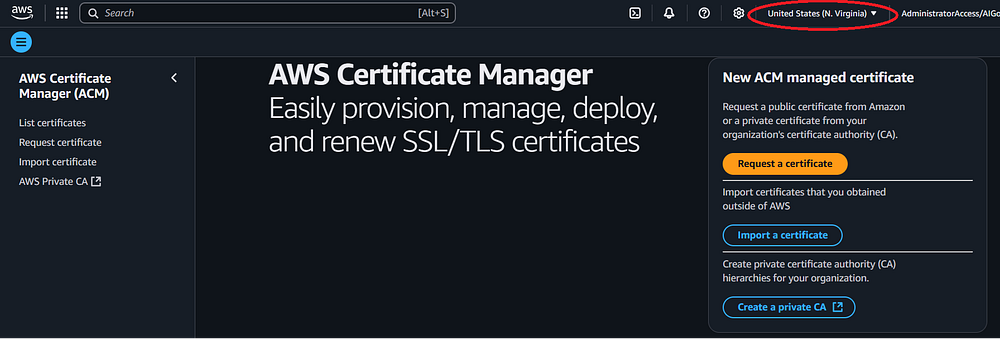
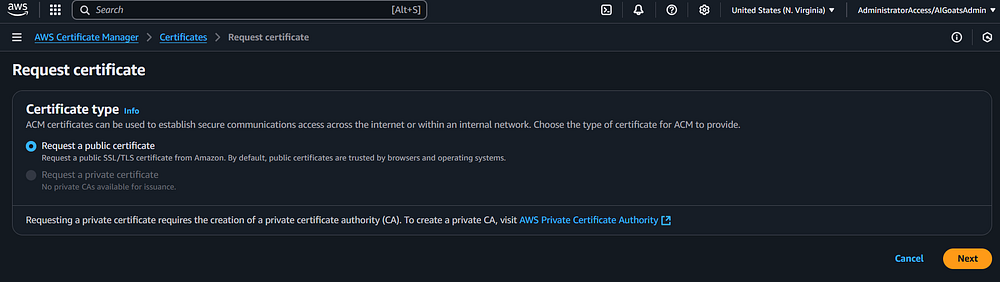
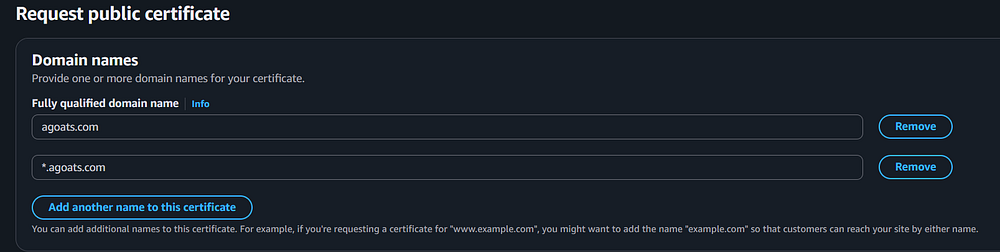
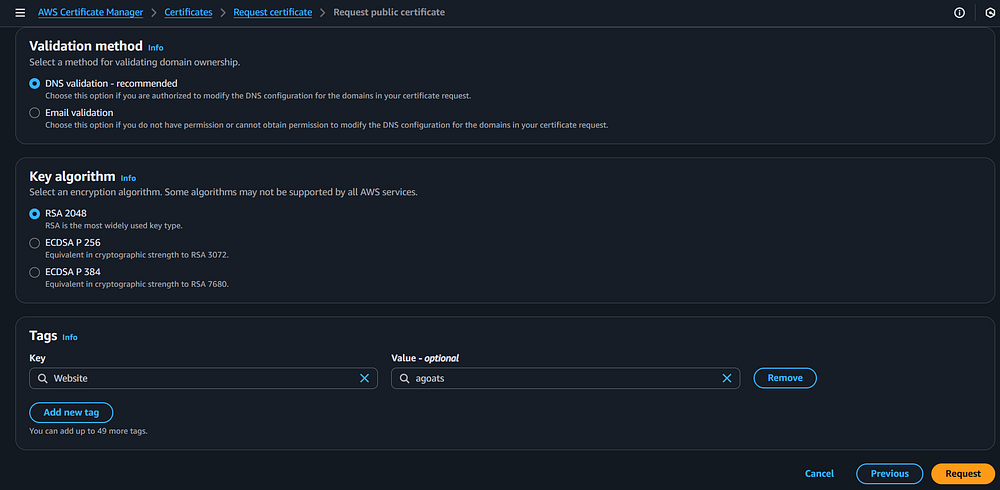
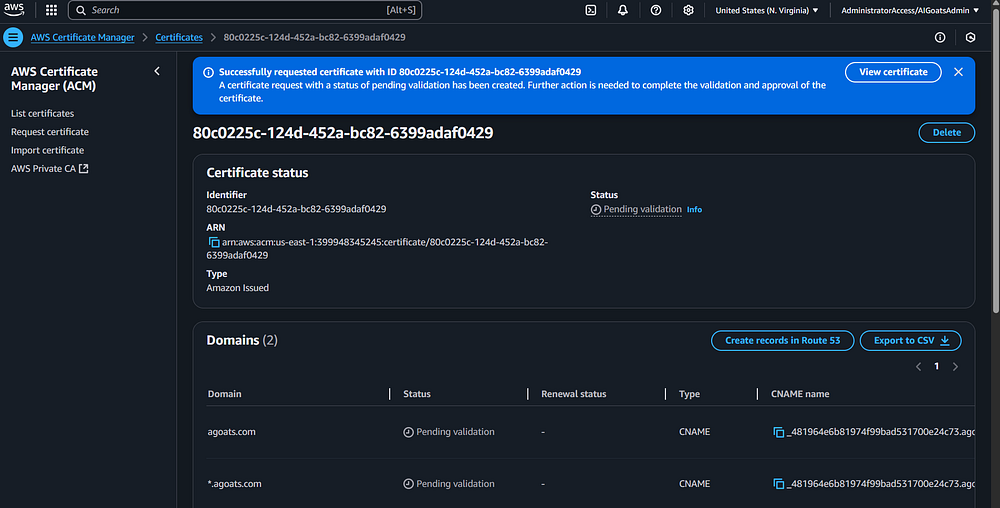
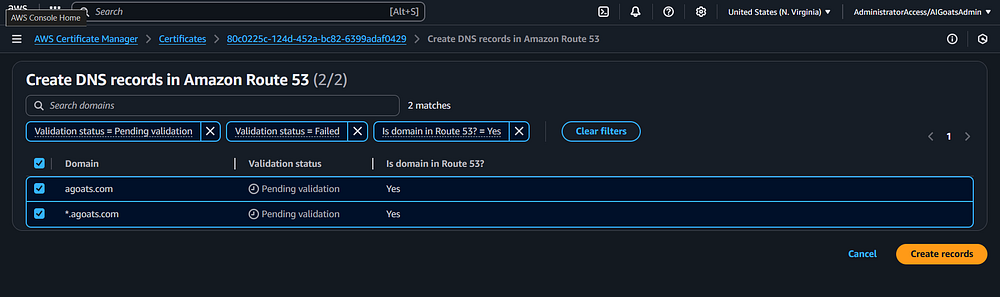
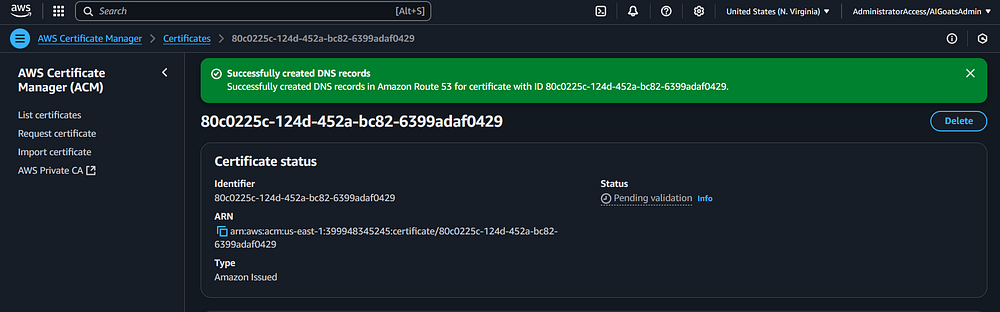
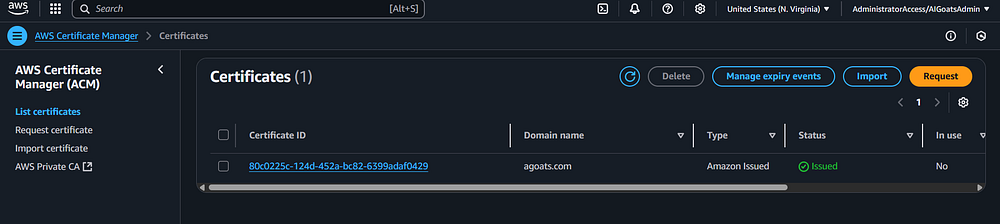
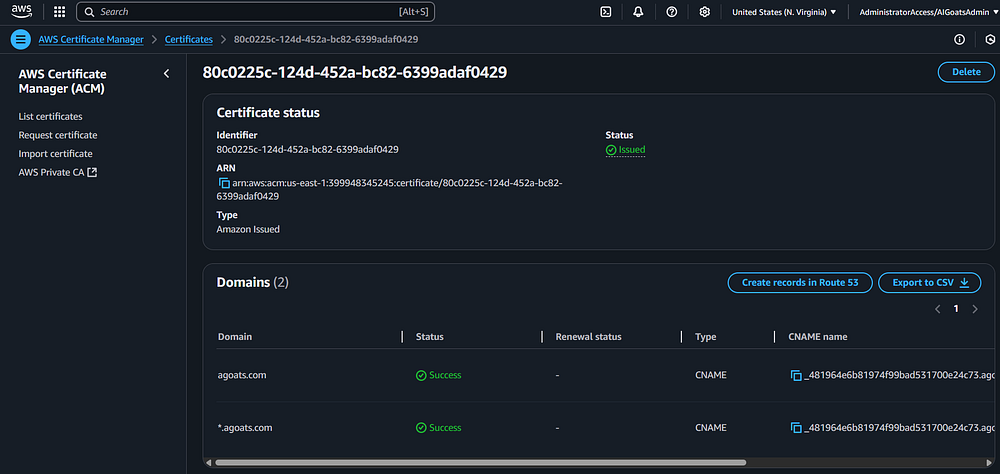
5 - CloudFront is integrated with AWS Certificate Manager and provides the public certificate to the browser.
6 - CloudFront is integrated with S3. As files are updated in S3, CloudFront updates the cached version of HTML files, images, etc. Cache update frequency can be configured.