-
Step 1: With GitHub set up and Visual Studio Code installed, you need to install and
configure Git on your local machine. Installing Git will allow you to pull (copy) the repository
code from GitHub to your local machine and to push modified code back to GitHub.
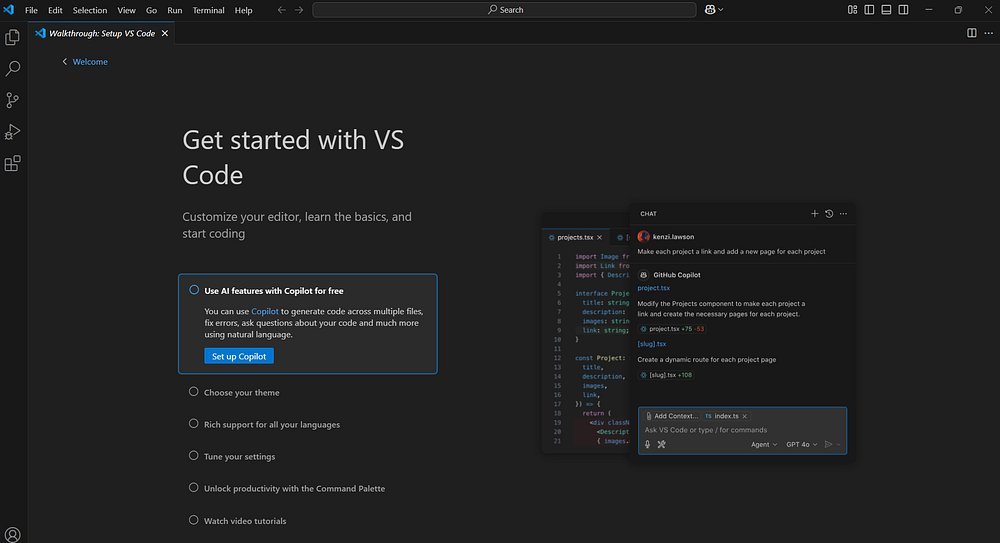
Based on the last step on the previous guide (Step By Step
- Install Visual Studio Code), you should be on the Visual Studio Code
"getting started" screen. Feel free to take a look at the different features or check out
help files, articles, etc. The details of how Visual Studio Code works is beyond the scope
of this guide. Note: Please ensure you reboot your machine before proceeding if you have
not rebooted it since installed Visual Studio Code.
-
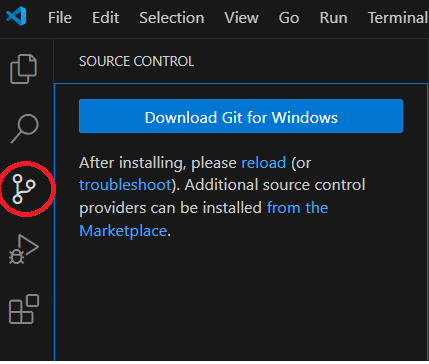
Step 2: In Visual Studio Code, if you click the "Source Control" option on the left side
menu bar, you will be taken to a screen where you will see a button which says
"Download Git for Windows" (or whichever OS you are using). Click the button to download Git.
-
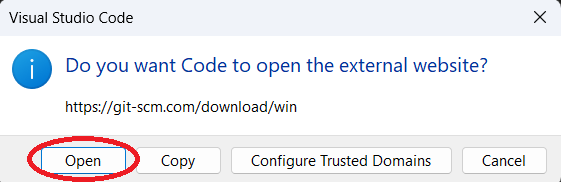
Step 3: You may be prompted to allow Visual Studio Code to open the link to the externa
website. Click "Open."
-
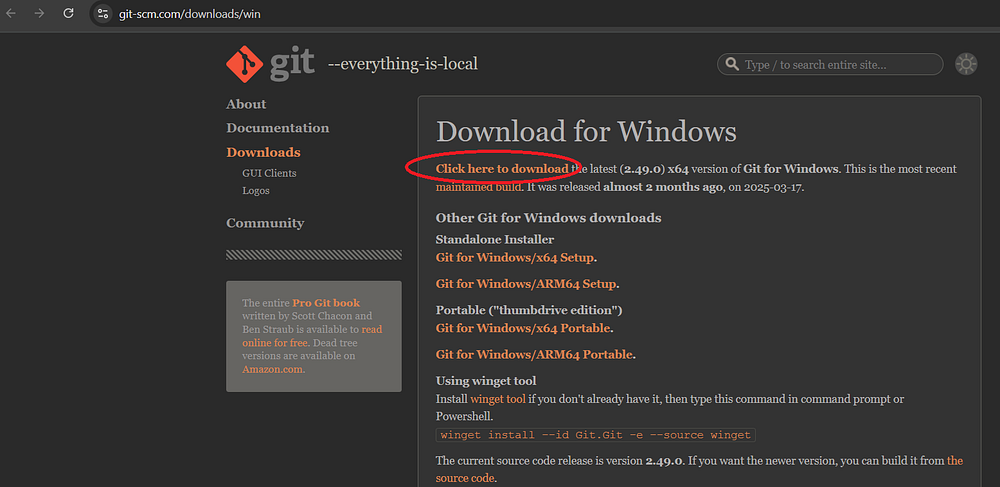
Step 4: You should be taken to the Git homepage where you should see a link to download
Git. Click the link and download Git, or choose a different link if you want a different version.
The author used the default link.
-
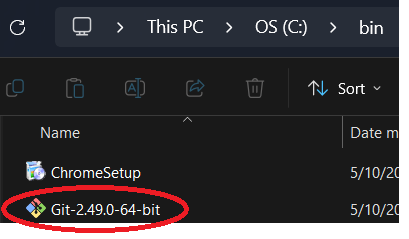
Step 5: Once the file is downloaded, you may want to put it into another location before
installing. The author created a folder on his hard drive for the purpose of storing
installation files. This is not required, but it is a good way to keep files organized.
Once the file is where you want it, double click it to install Git.
Note it is recommended that you close Visual Studio Code before installing Git, then reopen
Visual Studio Code after Git is installed.
-
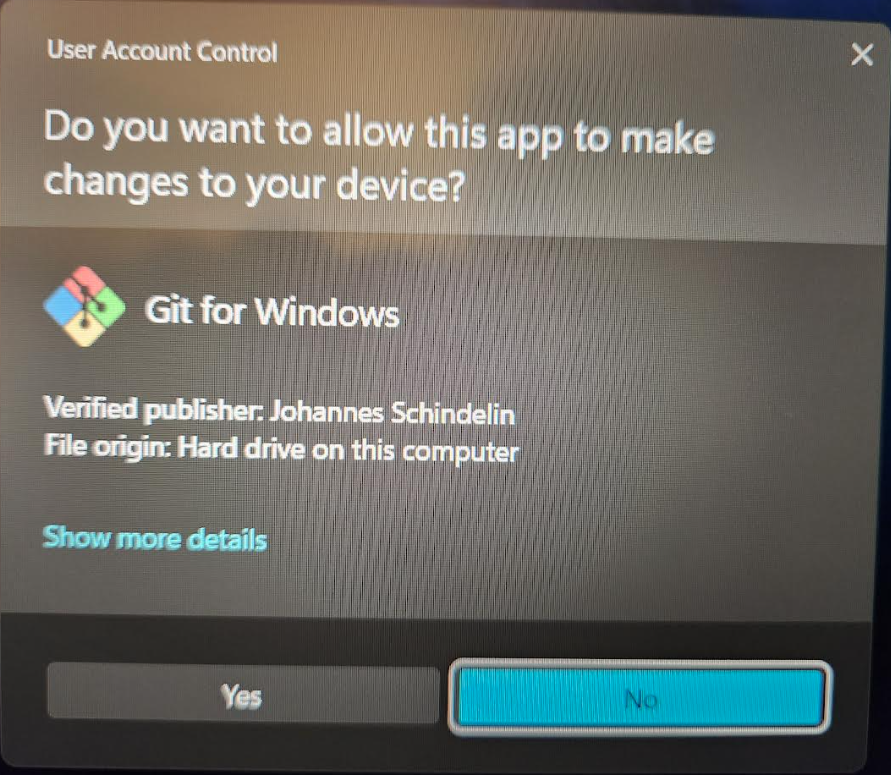
Step 6: You may be prompted by Windows to allow the file to be run. Click "Yes."
-
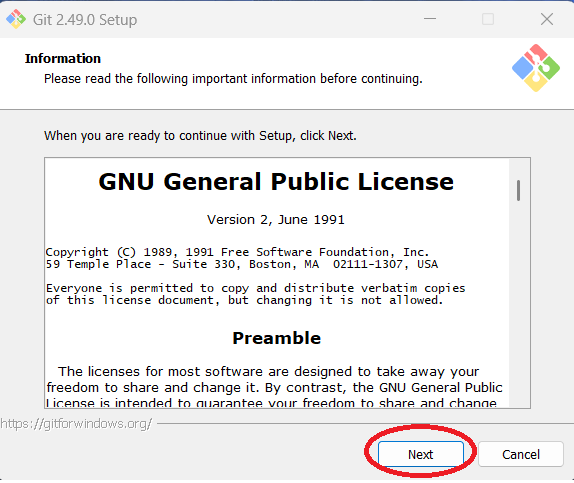
Step 7: Click "Next" to accept the GNU General Public License.
-
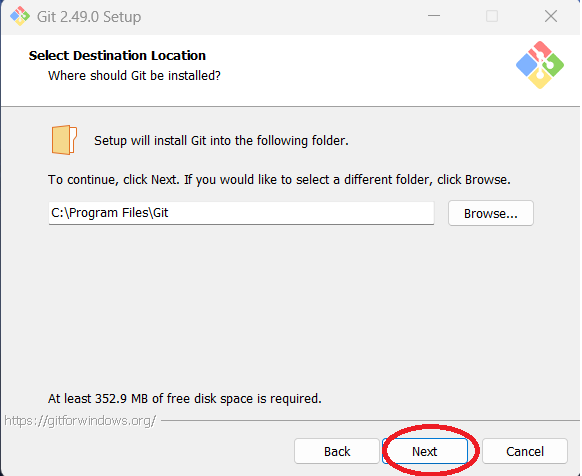
Step 8: You can change the directory where Git will be installed or leave the default.
The author used the default. Click "Next."
-
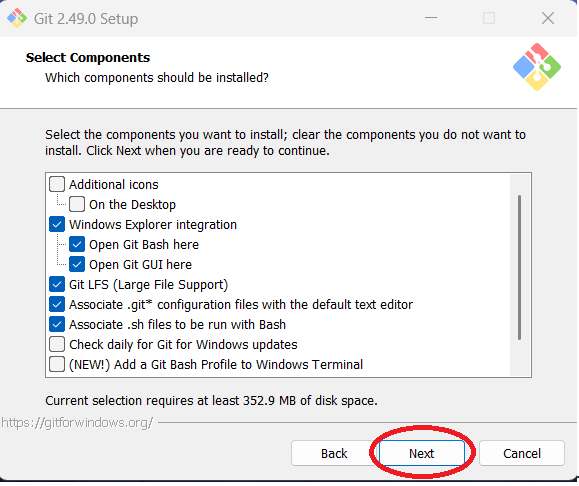
Step 9: You can add or remove components and click "Next" when done. The author left the
defaults, with the exception of unchecking the Scalar add-on (used to manage large repositories).
Note that you may need to use the scroll bar to see all the options and modify your selection.
-
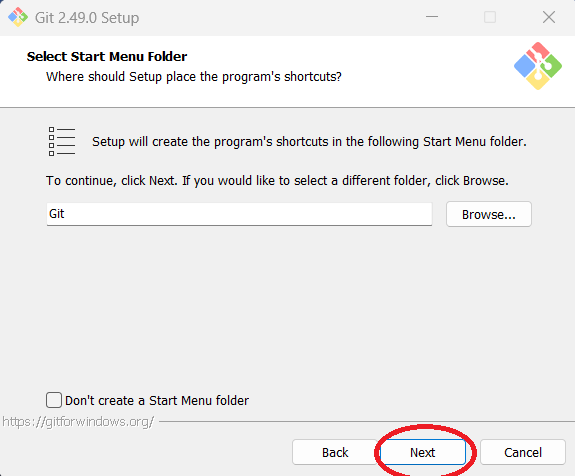
Step 10: You can change the start menu folder or stay with the default configuration.
The author used the default. Click "Next."
-
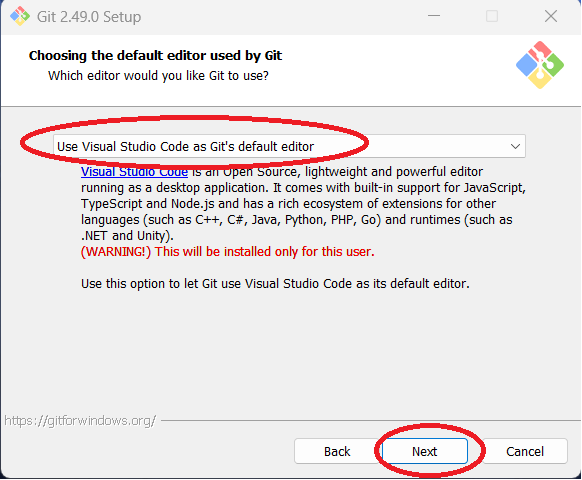
Step 11: You will be prompted to choose a default editor for Git. While you can use VIM,
the default option in the dropdown menu, as Git's editor, the author has chosen to use Visual
Studio Code. Click "Next" when you are ready.
Note that if you install Git first and then install Visual Studio Code afterwards,
you may not see this option.
-
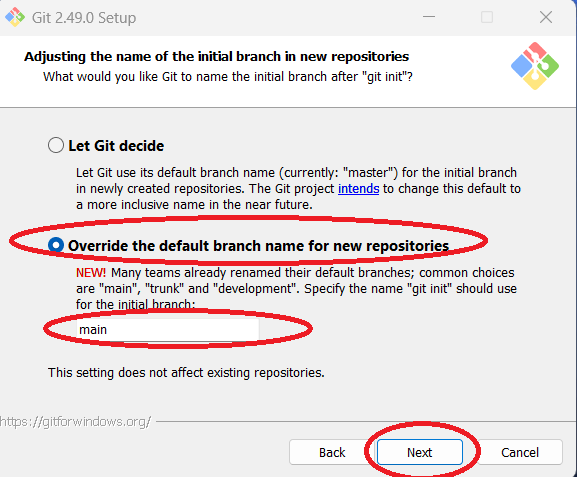
Step 12: Depending on the needs of your team and your organization, you may need to
"Let Git decide" the initial branch name for new repositories, or you may need to override the
default branch name and use a specific name. The author has chosen the "Override" option with
the name "main." Click "Next" when done.
-
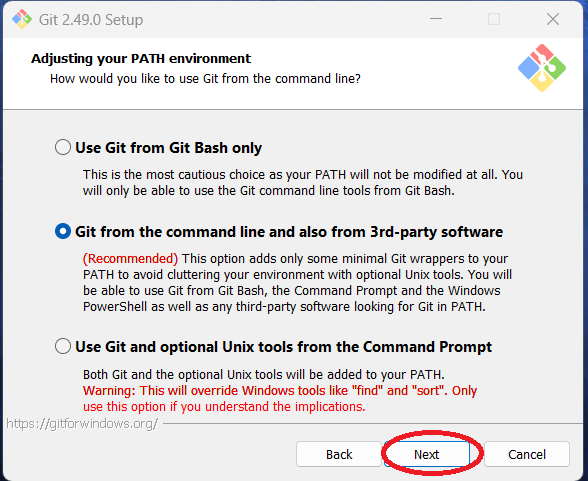
Step 13: If you want, you can adjust your PATH environment. The author chose the default,
which is the "Recommended" option. Click "Next."
-
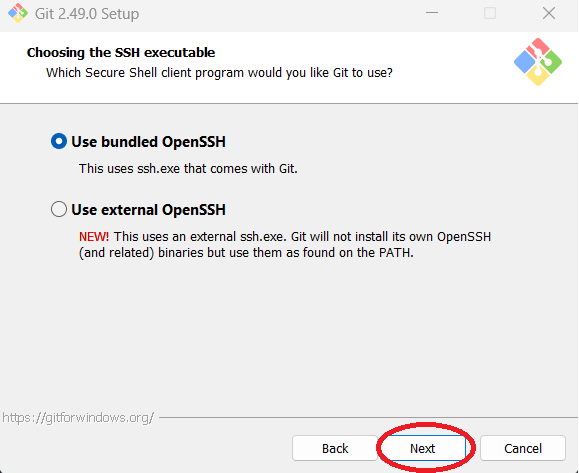
Step 14: You can adjust the SSH executable. The author used to default. Click "Next."
-
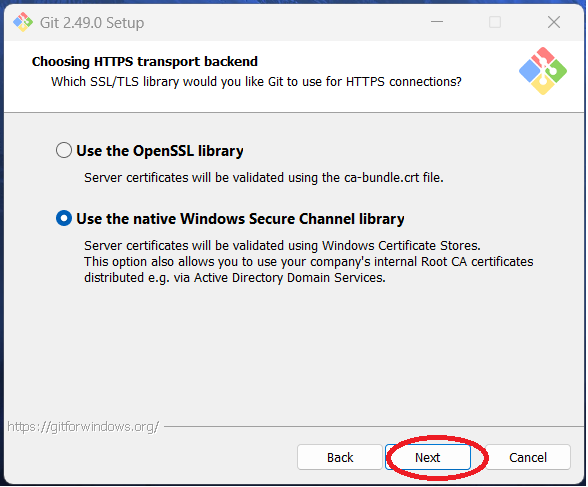
Step 15: You can adjust the HTTPS transport backend settings. Note this screen may be
different if you are not using Windows. The author used the defaults. Click "Next."
-
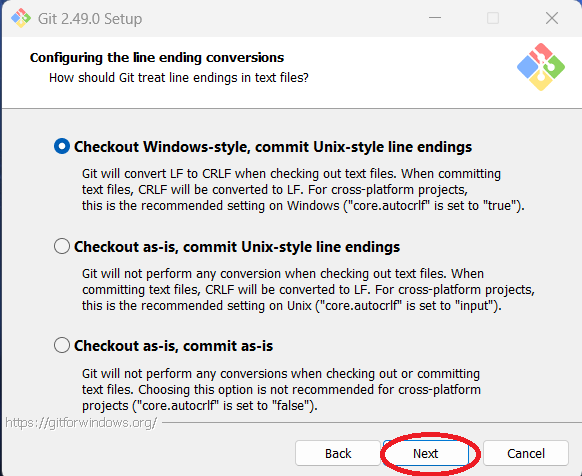
Step 16: You can adjust how to configure line ending conversions. The author chose the
defaults. Click "Next."
-
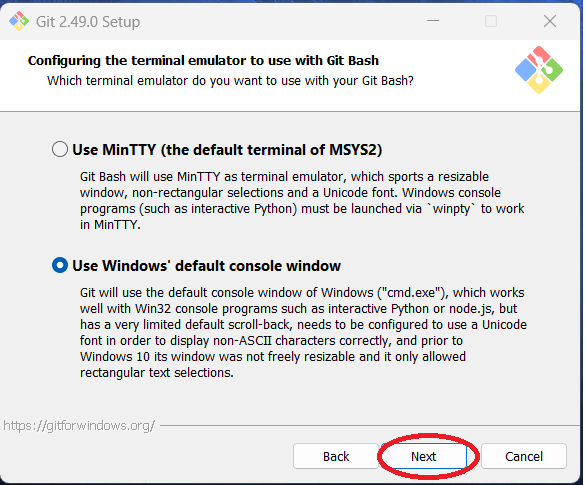
Step 17: You can configure the terminal editor used for Git Bash. The author chose to
use the Window's default console. Note the author is using Windows 11 and will be coding
solutions using Python. Click "Next."
-
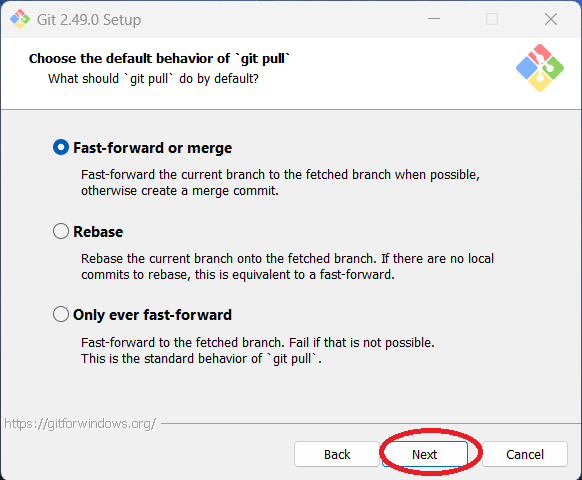
Step 18: You can choose the default "git pull" behavior. The author used the default,
Fast-forward or merge. Click "Next."
-
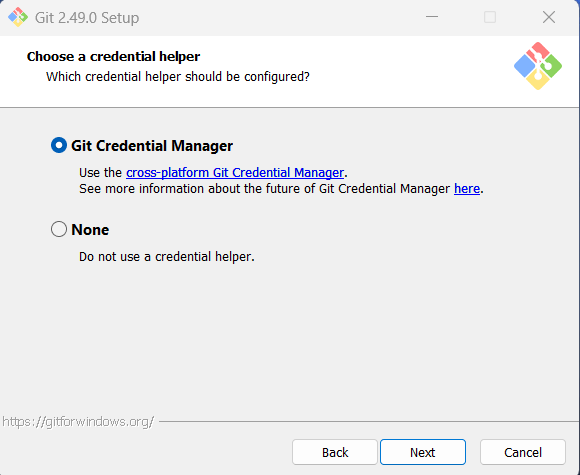
Step 19: You can choose to use Git Credential Manager or not. The author chose to use it.
Click "Next."
-
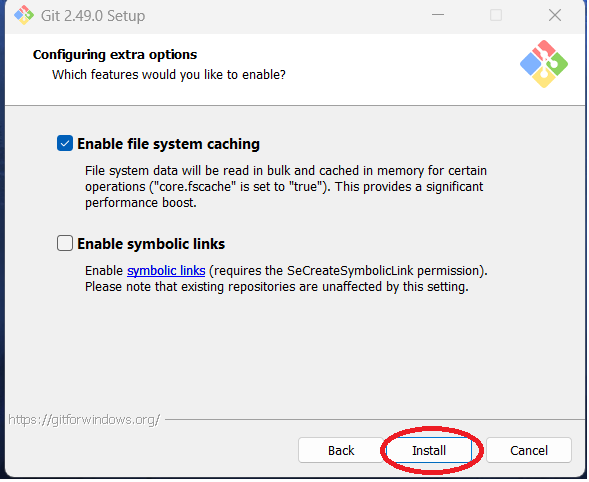
Step 20: You can enable extra options. The author chose the defaults, which is to enable
file system caching but not symbolic links. Click "Install."
-
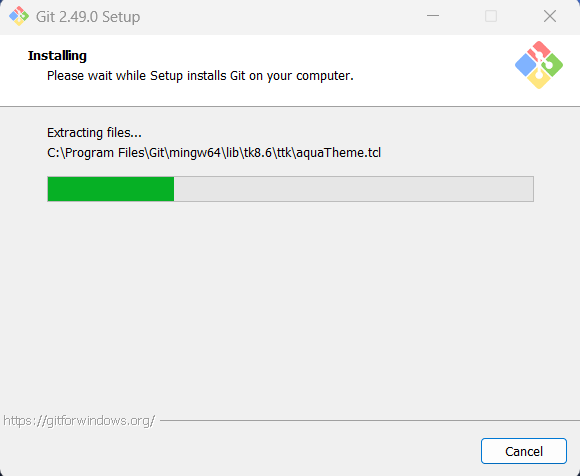
Step 21: You should see a status bar screen showing the installation progress.
-
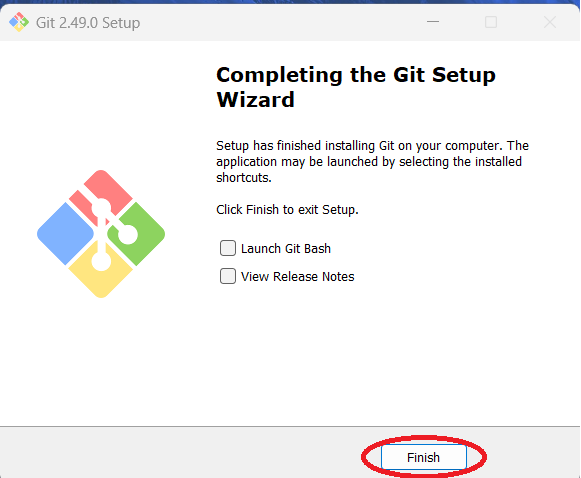
Step 22: Once done, you can choose to view the release notes and/or launch Git Bash.
The author chose neither option. Click "Finish."
-
Step 23: With Git installed, you should now restart your laptop. Once done, restart
Visual Studio Code and move to the next guide
(Step By Step - Connect Visual Studio Code to GitHub)
where you will learn how to clone the repository you created in GitHub to your local machine
using Git and how to use Visual Studio code to push changes back to GitHub.