-
Step 1: The author uses a Windows laptop and is choosing Visual Studio Code as their IDE,
so the steps and screenshots below will reflect those choices.
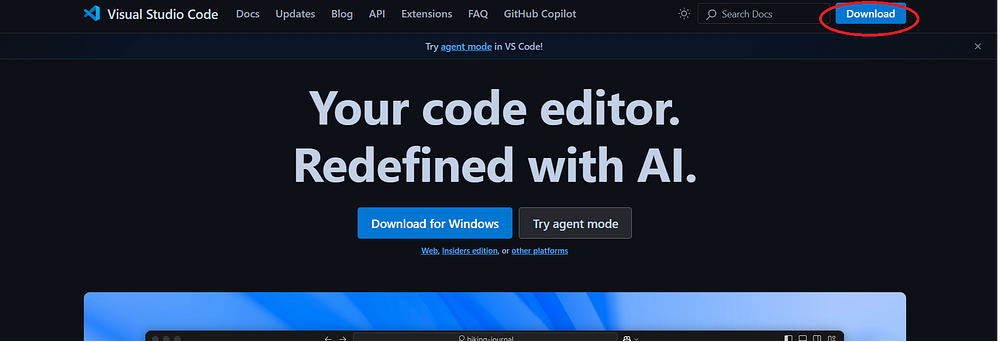
Navigate to the Visual Studio homepage and click
the Download button on the top right of the screen.
-
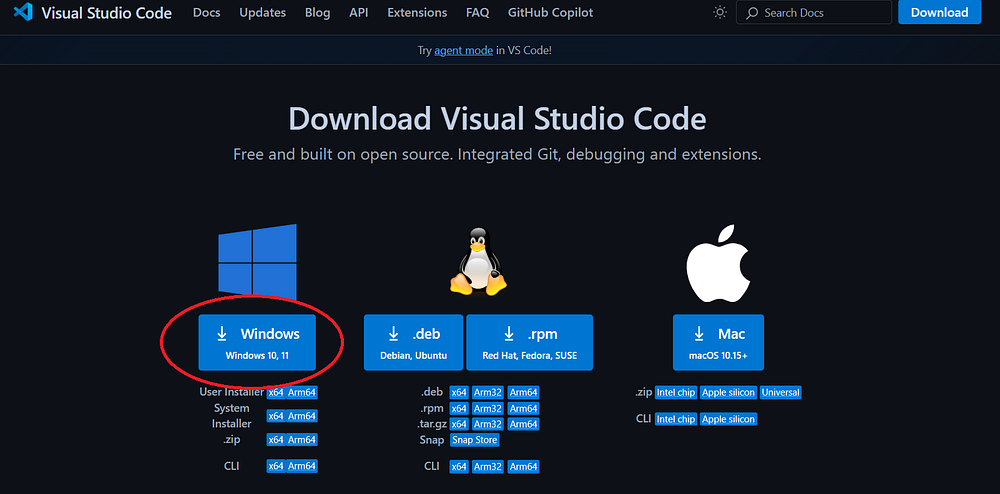
Step 2: You may be directed to another screen to select the version you want to download,
or the download may begin automatically. As mentioned previously, the author is choosing Windows.
-
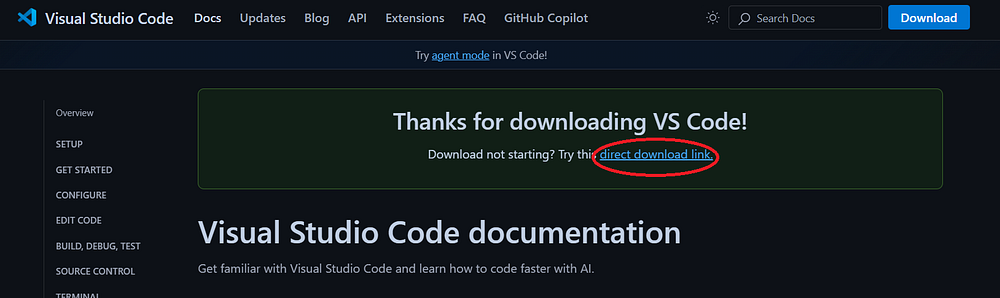
Step 3: You should see a screen similar to the below and the download should happen
automatically. If it does not, you can click the link highlighted in the screenshot below
to manually download the file. Note depending on how your device is configured, the downloaded
file may be located in your "Downloads" folder or elsewhere.
-
Step 4: Once you have located the file, you may want to move it to another folder prior to
installing VS Code. The author created a folder on his hard drive for the purpose of storing
installation files. This is not required, but it is a good way to keep files organized.
Once the file is in the location you want, double click the file to start the installation
process.

-
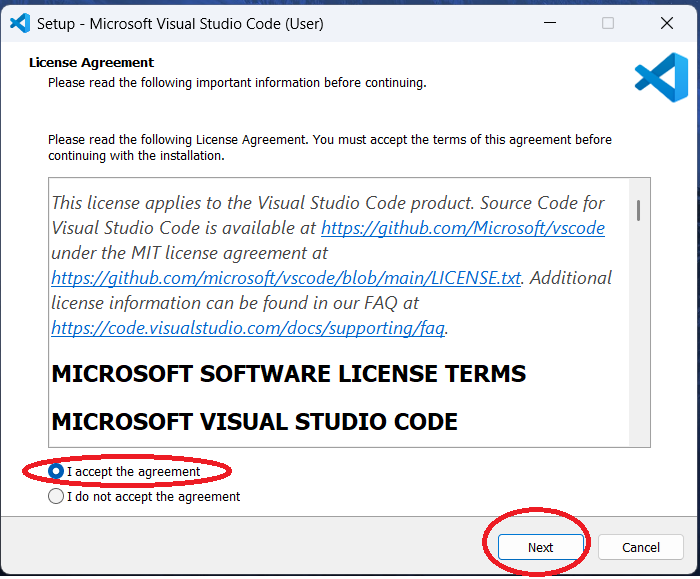
Step 5: You will need to accept the agreement and then click "Next."
-
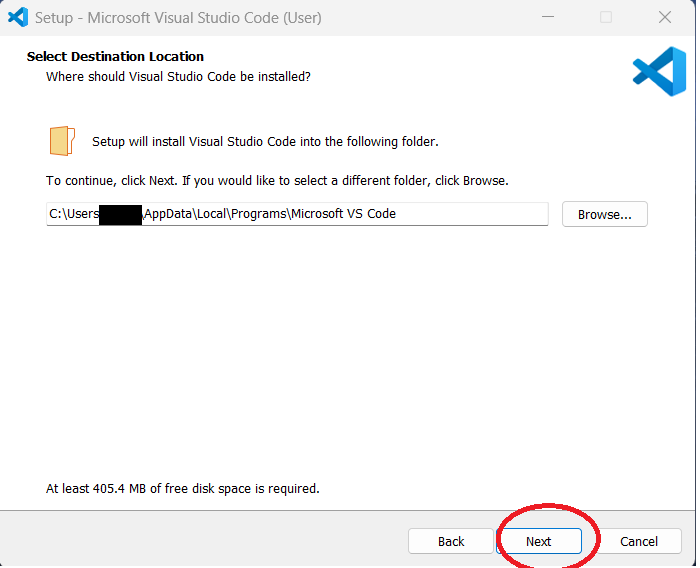
Step 6: You can either leave the default installation location or choose a different
location. The author used the default location. Click "Next."
-
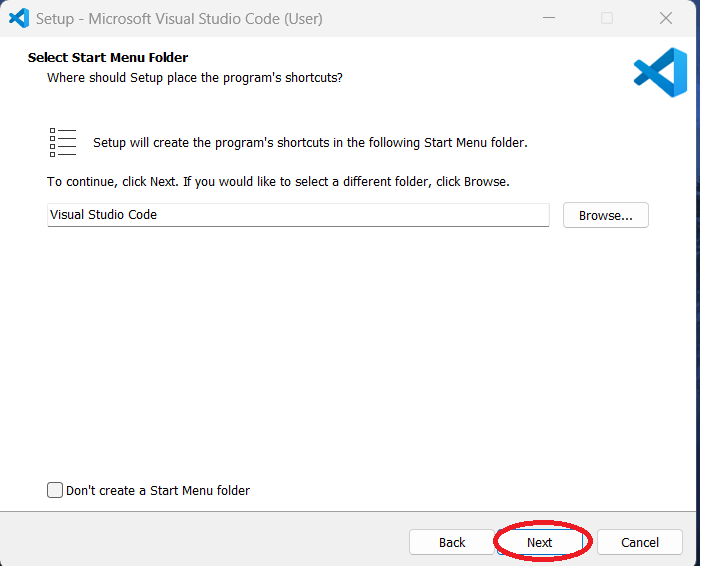
Step 7: You can leave the default settings for the shortcuts or change it.
The author left the defaults. Click "Next."
-
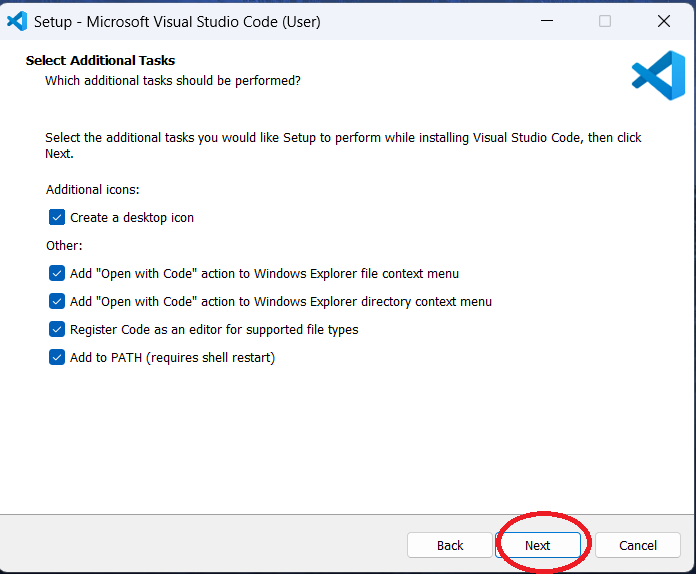
Step 8: Select any additional tasks you want the Visual Studio Code installation
process to undertake. The author selected all the checkboxes. Click "Next."
-
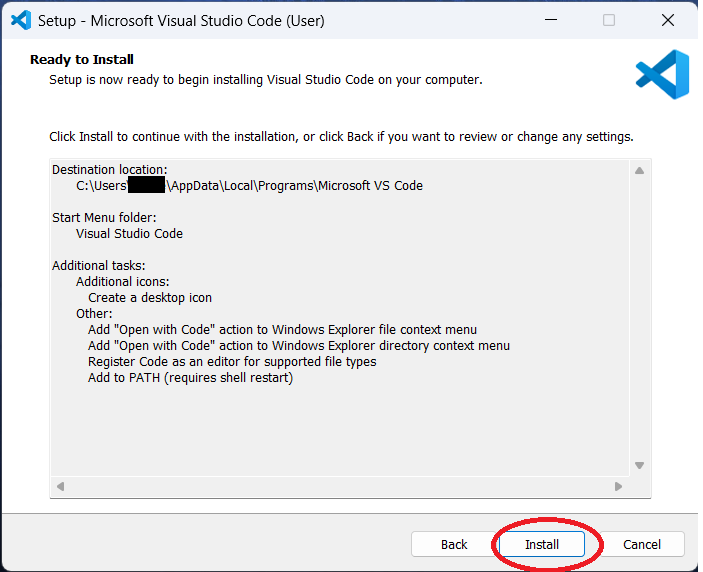
Step 9: Review your selections. If you are not happy, you can use the "Back" button to
make changes. Click "Install" when ready.
-
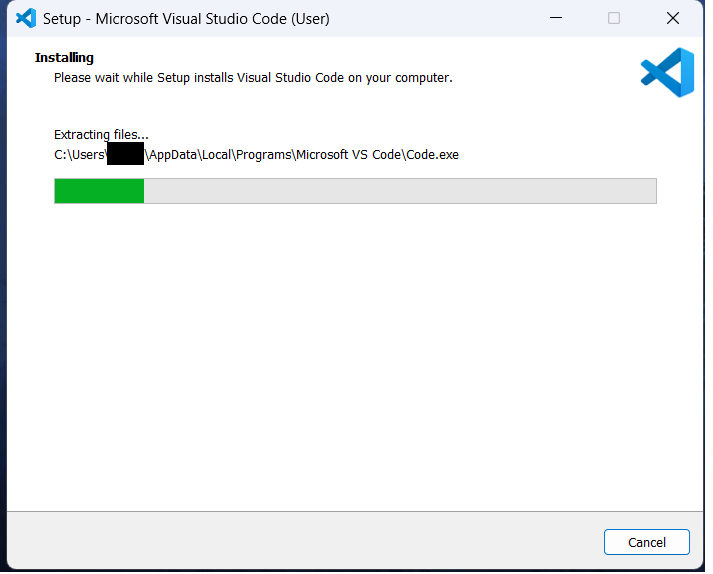
Step 10: You should see a screen with a progress bar indicating how the installation
is progressing.
-
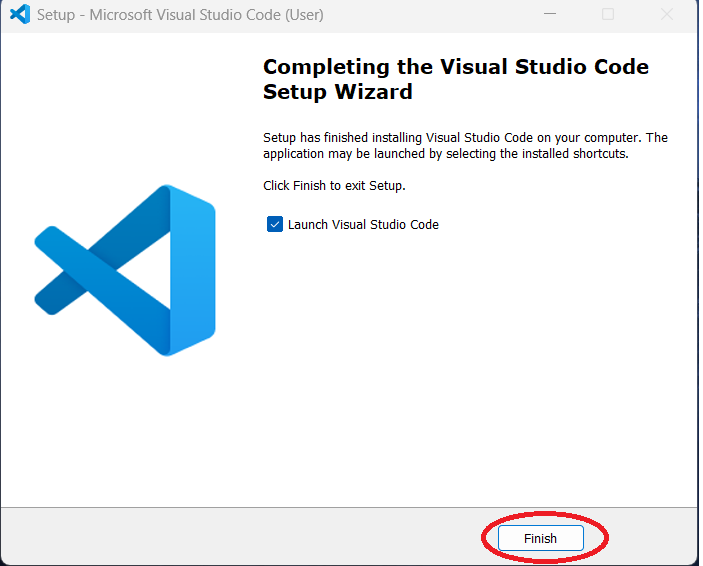
Step 11: Once done, click the "Finish" button to launch Visual Studio Code.
In the next section, you will install and configure Git.
See this guide Step By Step - Install and Configure Git