-
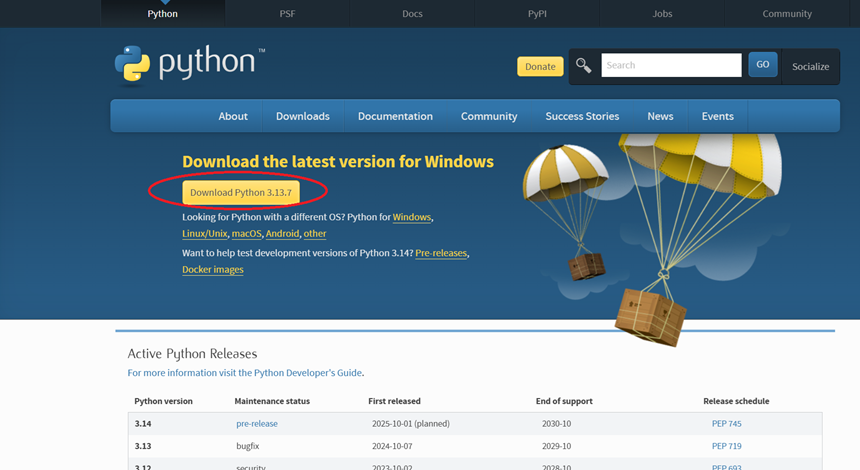
Step 1: First, close Visual Studio Code, as you should install Python on your device and
then install the Visual Studio Code extensions later. Go to
www.python.org and download the latest version.
As with previous installs, you may want to put the file into a specific folder prior to installing it.
-
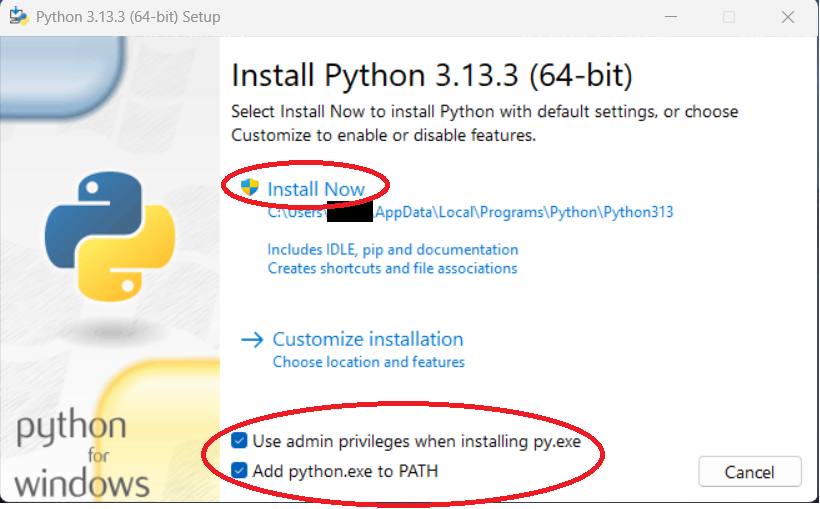
Step 2: Once you execute the installation file, you should see the setup screen appear.
Check both boxes and then click the "Install Now" option unless you want to install Python in a
custom location (the author used the default).
-
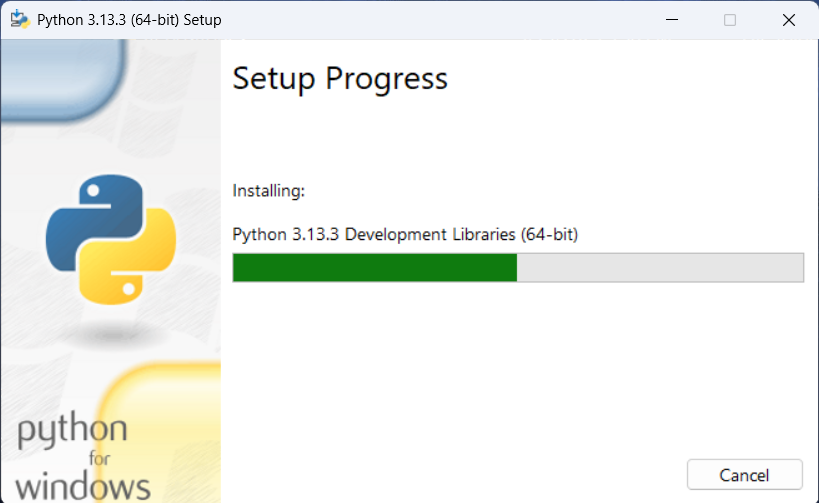
Step 3: You may be prompted to allow the installation to continue. You should then see the
installation proceed.
-
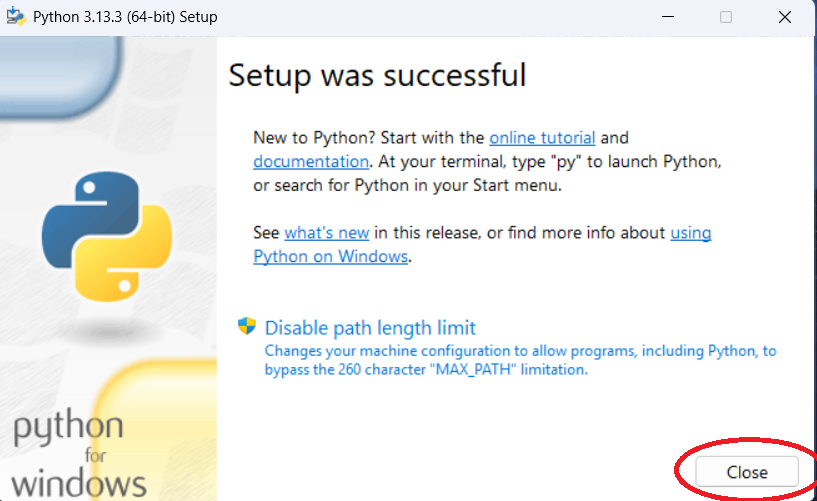
Step 4: Once the installation is done, click "Close."

-
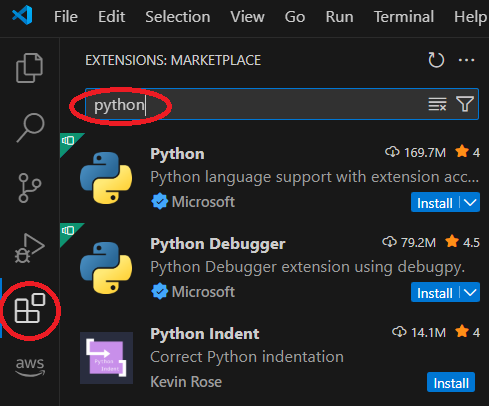
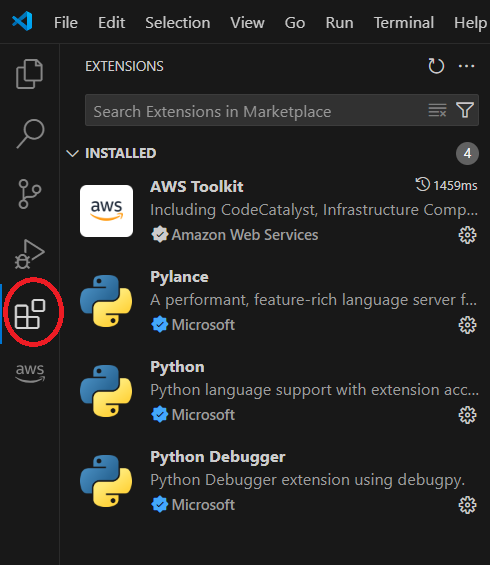
Step 5: Restart your machine, and then start Visual Studio Code. Click on the "Extensions"
menu option on the right side and type "python" into the search box. You should see a list of
results similar to the below:
-
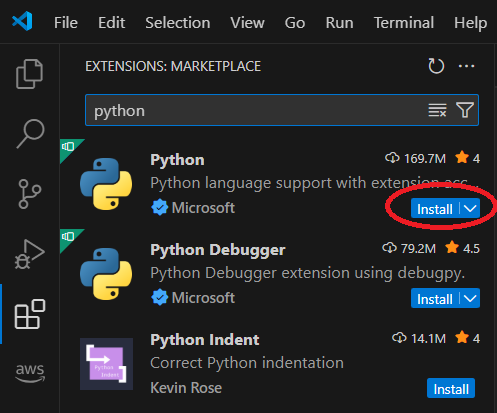
Step 6: Locate the "Python" language support extension from Microsoft and click the
"Install" option. You may also want to install the Python Debugger extension.
-
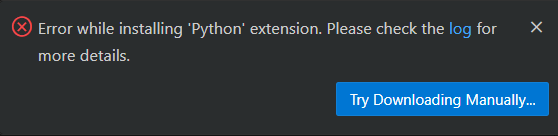
Step 7: If you get an error, you may need to download it manually. You can also try
restarting VS Code and try downloading it again.
-
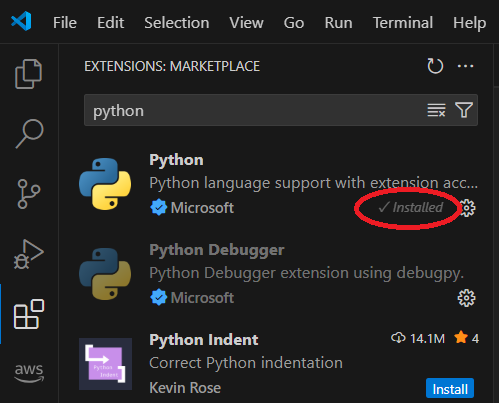
Step 8: Once the installation is done, you should see an update in Visual Studio Code,
it will show Python as "Installed." Note, the Python Debugger may automatically install.
Once the installation is done, you should restart Visual Studio Code.
-
Step 9: Once you restart Visual Studio Code and click the "Extensions" option, you should
see the Python options installed. Note that VS Code may automatically install other Python
tools such as the Python Debugger and Pylance.
-
Step 10: To confirm Python is working, click the "Toggle Panel" button so you can use the
Command Line Interface.
-
Step 11: On the window that appears, click the "Terminal" option.

-
Step 12: Type in "python" and press "Enter." You should see a result similar to the below
indicating Python is now successfully installed.

-
Step 13: Now that you have installed Python and some extensions in Visual Studio Code,
you can proceed to additional Step By Step guides. These guides can be found in the main
Step By Step Guides page.